Six Steps to Enable Netgear Router VPN Service via 192.168.1.1
VPN known as Virtual Private Network is known to let one use the internet to securely access the network remotely. You ought to install the Open VPN software on your device that you place to put to use for VPN connections to your Netgear router. By the way, VPN used a Dynamic DNS account in order to access the router. You need to enable DDNS right before you enable this feature using the default IP address.
Now that we have shed light on all the needed information regarding VPN, you should go through the instructions mentioned below and learn how to enable the feature with ease.
How to Enable Netgear Router VPN Service?
1. Connect the WiFi Devices
Commence the process by linking your Netgear wireless router to the existing modem. You can do so with the aid of an Ethernet cable. Make sure that the Ethernet cable is tightly connected to the ports of both devices. Otherwise, you will experience issues while enabling the Netgear router VPN feature on your device.
Note: Although you will face no issues connecting your networking devices with a cable, in case, you do, you can use the wireless source of connection to do the same.
2. Open an Internet Browser
Right after you have established a strong connection between the networking devices, get access to an internet browser on your computer or laptop. Make sure that whether you got your hands on your Google Chrome, Apple, Safari, or any other internet browser, it is running on its most recent version in order to perform well.
Note: Apart from updating your internet browser to its latest version, make it free of browsing history. This will ensure that you do not face technical issues in the future.
3. Access the IP Address
In the URL field, also known as the address bar of the internet browser, you ought to enter the default IP address of your Netgear wireless router. The default IP address might be 192.168.1.1. The reason why we used the word might is because sometimes, routers come with different IP addresses assigned to them. To check yours, refer to the user manual.
Note: Considering some people are unaware of the IP address assigned to their routers, the default web address can also be used to enable the Netgear router VPN feature.
4. Log in to the Netgear Router
As soon as you are done entering the IP address, you need to press the ENTER key located on your keyboard. This will take you to the routerlogin window where you will find two options, one by the name of Username and another by Password. Enter the admin login credentials as per the name of the field and click on the Log In button.
Note: Make sure that the Caps Lock key on your keyboard is off because the login username and password of your router are case-sensitive.
5. Access the Settings Option
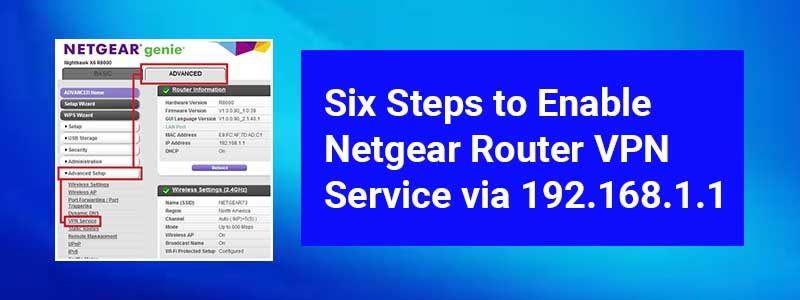
Hitting the Log In button will take you to the Netgear Genie smart setup wizard. You need to go to the Settings option now. After that, select Advanced > Advanced Setup > VPN Service. The VPN Service page will come into view. For your information, if you are unable to access the Netgear Genie setup wizard on your own, you should contact our experts.
Note: Getting in touch with our technical experts is possible via two options. You can check out the footer of our website for the same purpose.
6. Enable the VPN Service
On the VPN Service page, click the For Windows option in order to download OpenVPN configuration file. Thereafter, download the OpenVPN client utility. Double-click the link provided on the Windows Installer section of the page. Click Finish. In this manner, you will be able to enable the Netgear router VPN feature on your device.
Note: In case, you did not like the manual method to enable the VPN feature, it is advised that you make use of the Netgear Nighthawk app to set it up.
In Conclusion
Here ends our blog written on how to enable the Netgear router VPN feature. Hopefully, you found this post helpful in enabling the same. On the off chance, you are still not able to set up this feature with ease; you should not waste any more time getting in touch with our technical experts. Without taking much of your time, they will help you to set up the feature on your device that you came to this post for in the first place. You can trust us on that.